- By Admin
- Floor
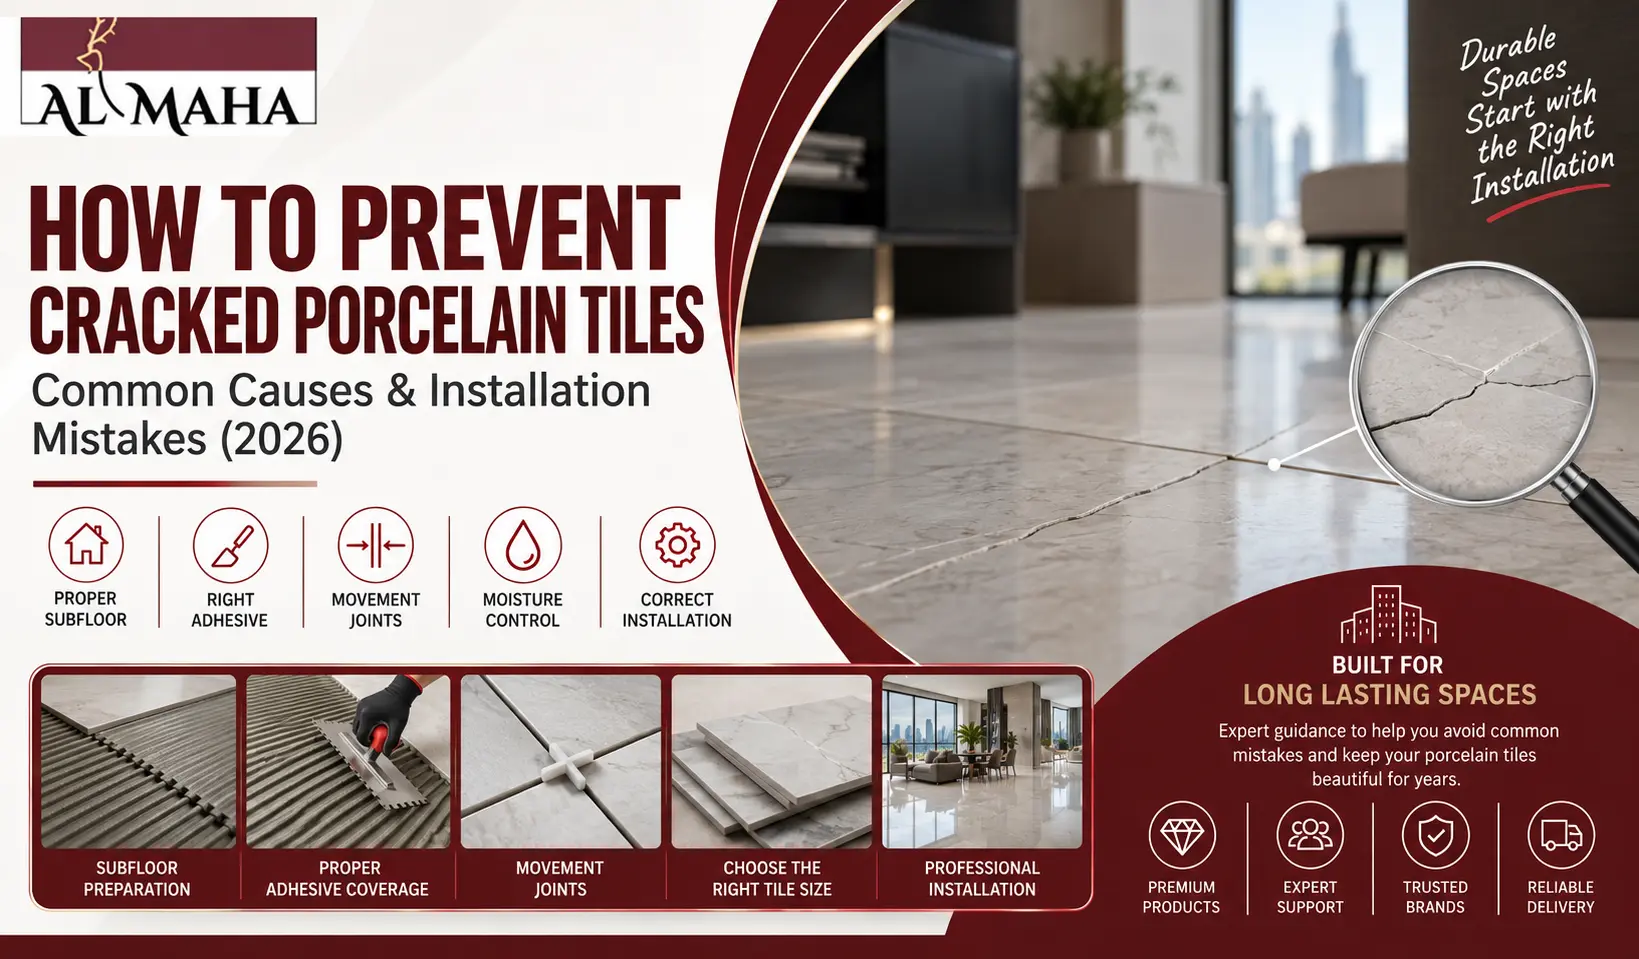
How to Prevent Cracked Porcelain Tiles: Common Causes & Installation Mistakes (2026)
Porcelain tile is one of the toughest flooring materials you can buy. It resists water, scratches, and stains better than almost anything else on the market. So when a homeowner finds a crack across a brand-new floor, the instinct is to blame the tile.
That's rarely the real story.
Porcelain is dense, rigid, and largely inflexible. That's exactly what makes it durable underfoot—and exactly why it has zero tolerance for mistakes beneath it. A crack in a porcelain tile is seldom a manufacturing defect. It's a symptom. Something moved, flexed, or trapped air where it shouldn't have, and the tile — being the hardest, least forgiving material in the assembly — was the first thing to fail.
If you're planning an installation or troubleshooting cracks that have already appeared, this guide breaks down exactly where things go wrong, and what the tile industry's own standards say you should be doing instead. If you haven't finalized your material choice yet, our porcelain tile buying guide is a useful starting point before any of this becomes relevant.
Why Porcelain Cracks When Other Tile Doesn't
Standard ceramic tile has a bit of give. Porcelain doesn't. It's fired at higher temperatures and pressed at higher density, which produces a tile with very low porosity and very little flexibility. That combination is fantastic for wear resistance and water absorption, but it means the tile has almost no capacity to absorb structural movement on its own. If you're weighing porcelain against ceramic for a project, we've broken down the differences in more depth in our porcelain vs. ceramic tiles comparison.
Every crack traces back to one of five categories:
Subfloor problems
Adhesive and mortar errors
Missing movement joints
Moisture and environmental stress
Rushed or incorrect installation technique
Let's go through each one, because the fixes are specific — and mostly avoidable.
1. Subfloor Problems: The Foundation Nobody Checks
Tile doesn't crack because of what happens on top of it. It cracks because of what happens underneath it. Getting the substrate right is such a common failure point that we've dedicated a full guide to it — see how to prepare your floor before installing porcelain tiles for the step-by-step process.
Deflection: The Number Installers Skip
Every floor flexes slightly under load — that's normal. The problem is how much it flexes. This is measured as deflection, expressed as a fraction like L/360, where L is the span of the floor and 360 represents how many times that span the floor is allowed to bend under a given load.
Here's where most guides stop short. They'll tell you "the subfloor needs to be rigid enough," without saying what that actually means in practice.
The real numbers:
Standard ceramic and porcelain tile requires a subfloor rated at a minimum of L/360.
Large format porcelain tile (LFT) — generally anything with an edge longer than 15 inches — requires a stricter L/720 rating.
L/720 means the floor can deflect no more than 1/720th of its span under load — literally half the movement tolerance of standard tile. Large format tiles have more surface area and less flexibility to distribute stress across, so any flex in the substrate concentrates directly on the tile body. If your contractor is installing 24x48-inch porcelain planks over a subfloor that was only ever built to L/360 spec, you have a structural mismatch before a single tile goes down. We cover sizing considerations like this in our guide to large format porcelain tiles in Dubai, and the broader range of options in our porcelain tile sizes guide.
Other Substrate Issues to Rule Out
Uneven subfloors. High and low spots create pressure points. When someone walks across an uneven area, the tile at the high point takes concentrated impact instead of even, distributed weight.
Insufficient concrete cure time. Concrete slabs need to fully cure before tiling — rushing this traps residual moisture and allows continued slab shrinkage to transfer stress into the tile above it.
Dead spots and hollow voids. Gaps between the subfloor and the tile leave sections of the tile unsupported. Step on that spot with enough force, and there's nothing beneath it to absorb the impact.
The Fix Competitors Don't Mention: Uncoupling Membranes
Most articles on this topic recommend "repairing the subfloor" or "adding plywood" and leave it there. That's incomplete advice for 2026 installations.
An uncoupling membrane — Schluter-DITRA is the most recognized brand — is a thin, engineered layer installed between the subfloor and the tile. Its job isn't to add rigidity. It's to decouple the two surfaces, so that minor in-plane movement in the subfloor doesn't transfer directly into the rigid tile above it.
Think of it as a shock absorber for lateral stress. Without one, the subfloor and tile are locked together, and any movement in one becomes a crack in the other. With one, the two layers can move independently within a small tolerance — which is precisely why uncoupling membranes have become close to standard practice for premium installations, especially over wood subfloors or in rooms with temperature swings.
If you're installing large format tile over anything other than a fully cured, engineered concrete slab, an uncoupling membrane is the single highest-leverage upgrade you can make.
2. Adhesive and Mortar Errors
Even a perfect subfloor won't save a tile installation with the wrong adhesive underneath it. We go into much more depth on product selection in our porcelain tile adhesive guide — worth reading before you buy.
Non-Modified Thin-Set on Porcelain
Porcelain's low porosity is a problem for bonding. Standard, non-modified thin-set mortar is designed to bond by absorbing into a somewhat porous tile body. Porcelain doesn't absorb much of anything, which means unmodified thin-set often fails to create a proper mechanical or chemical bond.
The fix is straightforward: use a modified (polymer-fortified) thin-set rated specifically for porcelain and large format tile. It's formulated to bond to dense, low-absorption surfaces rather than relying on porosity. If you're sourcing adhesives locally, our interior tile glue range is formulated for exactly this kind of application.
Inadequate Coverage and Back-Buttering
Tile needs a minimum of 80% mortar coverage on the back of the tile for interior dry areas, and 95% coverage for exterior, wet, or high-traffic commercial areas, per TCNA (Tile Council of North America) guidelines. Falling short of that leaves air gaps — and those gaps are where hollow spots and eventual cracks begin.
Back-buttering — applying a thin layer of mortar directly to the back of the tile in addition to troweling the substrate — is essential for large format tiles specifically. Larger tiles have more surface area to bond and are more prone to warping ("lippage") at the edges if coverage is inconsistent. Skipping this step on anything over 12x24 inches is asking for trouble.
Trowel Ridge Direction Actually Matters
Here's a detail almost no guide mentions: the direction you trowel the mortar changes the outcome.
Straight, parallel ridges allow trapped air to escape sideways as the tile is pressed and set into place.
Swirled or circular troweling traps air in isolated pockets that have nowhere to go.
Those trapped pockets become the hollow spots you hear when tapping a tile after installation — and hollow spots are structurally weak points. Under repeated foot traffic or a dropped object, that's exactly where a crack starts.
Trowel notch size matters too. Larger format tiles need larger trowel notches (typically 1/2-inch square or U-notch) to lay down enough mortar volume for full coverage. A trowel sized for standard 12x12 tile won't deposit enough material for a 24x48 plank. For the full mechanics of laying tile correctly from start to finish, see our porcelain tile installation guide.
3. Missing Movement and Expansion Joints
Tile, mortar, and concrete all expand and contract with temperature and humidity changes. If there's nowhere for that movement to go, it goes into the tile.
TCNA Spacing Standards, Not Guesswork
Most articles say "install expansion joints" without specifying where. The actual industry guidance from TCNA is specific:
Interior tile fields: movement joints every 20 to 25 feet in each direction.
Areas exposed to direct sunlight or significant moisture (sunrooms, exterior patios, areas near large windows): every 8 to 12 feet.
Perimeter joints: every tile field needs a soft joint where it meets a wall, column, curb, or any change in plane — never grout tile tight against a wall.
Skipping perimeter joints is one of the most common — and most avoidable — mistakes. Installers often grout straight to the wall because it looks cleaner. But when the slab expands even slightly, that rigid grout line has nowhere to absorb the movement, and stress transfers directly into the tile field. Getting grout right at this stage matters just as much — see our porcelain tile grout guide for consistency and joint-filling detail.
Control Joints in the Concrete Below
If the concrete slab underneath has control joints (intentional cracks designed to control where the slab splits as it shrinks), those joints need to be honored — not tiled over. A control joint that's covered by continuous tile becomes a hidden fault line. When the slab moves along that joint, as it's designed to, the tile above it has no flexibility and cracks in a straight, telltale line.
4. Moisture and Environmental Stress
Porcelain resists water. The materials around it often don't. This is especially critical for swimming pool tiles and other exterior applications, where moisture and freeze-thaw exposure are constant rather than occasional.
Unsealed grout allows water to penetrate beneath the tile surface. Once moisture reaches the substrate, it can cause swelling in wood subfloors or degrade adhesive bond strength over time — both of which eventually show up as cracked or lifting tile.
Missing waterproofing membranes in wet areas (showers, around tubs, exterior applications) allow water to reach the subfloor directly, accelerating substrate failure.
Freeze-thaw cycles are a serious concern for exterior and pool-area porcelain. Water that gets trapped beneath or within the installation expands when it freezes, generating enough force to crack tile from below. Exterior installations need frost-rated materials and proper drainage slope — not just frost-resistant tile. For outdoor-specific selection, see our outdoor porcelain tiles guide.
5. Rushed Installation and Poor Technique
Some of the most common causes of cracking have nothing to do with materials — they're about timing and process.
Tiling over uncured concrete. New concrete continues to shrink and off-gas moisture for weeks after it's poured. Tiling too early means the slab is still moving underneath a surface that can't move with it.
Walking on tile before the mortar sets. Foot traffic during the curing window can shift tiles microscopically before the bond has fully hardened, creating weak points that fail later under normal use.
Incorrect grout consistency. Grout mixed too wet shrinks excessively as it dries, pulling at tile edges. Mixed too dry, it won't properly fill joints, leaving gaps that let movement and moisture in.
Skipping leveling systems. Tile leveling clips and wedges keep large format tiles flush during setting, preventing lippage. Without them, uneven edges create pressure points that concentrate stress exactly where a crack is most likely to start.
A Quick Pre-Installation Checklist
Before tile goes down, confirm:
Subfloor deflection rating matches tile size (L/360 standard, L/720 for large format)
Concrete has fully cured per manufacturer specs
Modified thin-set mortar rated for porcelain is being used
Mortar coverage meets 80%+ (interior) or 95%+ (wet/exterior) with straight-line troweling
Back-buttering is planned for any tile over 12x24 inches
Perimeter and field movement joints are mapped out per TCNA spacing
Existing control joints in the slab are identified and respected
Waterproofing membrane is installed in wet areas
A leveling system is used for large format tile
The Bottom Line
Porcelain tile doesn't crack because it's fragile. It cracks because it's unforgiving — and unforgiving materials expose every shortcut taken underneath them. Subfloor deflection, mortar coverage, movement joints, and cure times aren't fine print. They're the actual determining factors in whether a floor lasts twenty years or twenty months.
If you're hiring an installer, ask them directly about deflection ratings, mortar type, and expansion joint spacing. Their answers will tell you more about the durability of your floor than any tile sample ever could. And if you're still sourcing materials, browse our full porcelain tile range or get in touch via our contact page for project-specific guidance.

 15 Sep, 2026